
 A Stone veneer is a type of siding made from slices of natural stone or manufactured stone pieces to mimic the appearance of solid stone construction. Stone veneer can add a refining touch to any exterior or interior, and you can install it on most surfaces.
In this guide, you will find a step-by-step process on how to install stone veneer.
Areas you can install veneer
Stone veneer can be installed in various areas, including:
- Fireplaces. Stone veneer works for the traditional wood-burning fireplace, gas fireplace, or modern electric unit.
- Interior walls. Interior walls such as drywall, sheetrock, plywood, or fibre cement are perfect for stone veneer designs.
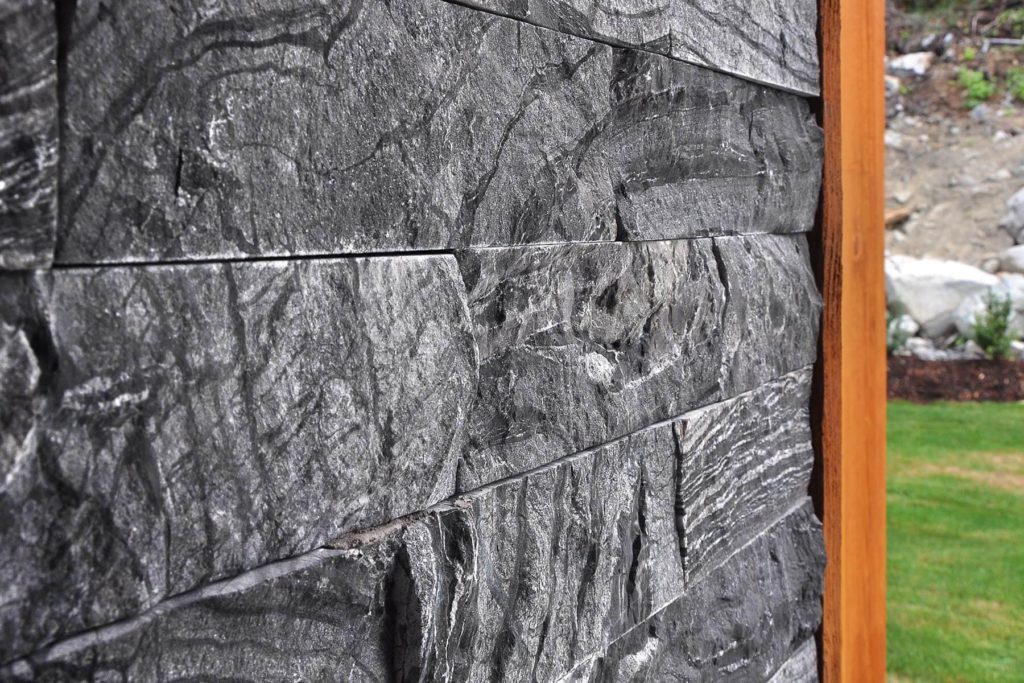
- Exterior walls. Veneer stone works well for exterior walls and can go a long way towards improving curb appeal.
- Columns. Stone adds beauty and depth to columns. It can be placed on columns on the porch, entryway or indoors.
Equipment required to install stone veneer
To ensure an easy and straightforward installation of stone veneer, here’s what you’ll need:
- Masonry trowel to spread the bond coat mortar and scratch
- Mason hammer or cut-off angle grinder to cut or sharpen the stone
- Rake for the scratch coat
- Staple gun or nail gun
- Grout to fill the spaces between the stone joints after placement
- Joint tool to smooth and finish the joint grout
- A brush to dampen the veneer stones and another to dust and clean the stones when the installation is complete
- Moisture barrier (for exterior walls)
- Galvanized metal lath
- Galvanized nails or staples
- Stone veneer mortar
Things to consider before installing stone veneer
Before you install stone veneer, you must consider the following:
- Aesthetics. You need to decide how you want the finished project to look. This will determine the stone size, shape, colour and layout.
- Stone type. Will you use natural stone veneer or manufactured stone?
- Measurements. How much stone do you need? Determine this by calculating the square footage of the surface to be covered. Multiply the width of the surface by its height. If there are windows, doors, or cornerstones, deduct the surface foot area of such structures from the total square footage.
- Mortar joint size. Mortar joint size is the space between the pieces of stone. Most stone is packaged assuming that the mortar joint size will be ½ inch. If you are varying the joint mortar size, adjust your calculations.
How to install stone veneer
Follow the steps below when installing stone veneer.
- Prepare the surface
Preparing the surface will ensure the durability of the stone veneer.
• For framed exterior walls, a moisture barrier is needed. Cover the surface with waterproof building paper stapled in a horizontal direction so that the sheets overlap by a minimum of 6 inches. Then apply a metal lath sheet using galvanized nails, spacing the sheets a maximum of 6 inches apart on centre vertically and 16 inches apart on centre horizontally. The nails must penetrate the studs at least 1 inch.
• For framed interior walls, install the metal lath using galvanized screws or nails 6 inches on the centre vertically and 16 inches on the centre horizontally. Ensure the nails penetrate the studs at least 1 inch.
• For concrete exterior walls or interior walls, metal lath is not usually needed. The stone veneer can be installed on this surface directly as long as it is clean and debris-free. If the surface is painted, it must be sandblasted or the paint scraped off. - Mix and apply a scratch coat
A scratch coat is needed if you use a metal lath. This means you don’t need it when installing veneer to a concrete or stucco surface.
Mix 1 part of masonry cement with 2½ parts sand. Add water little by little and properly mix till you have the consistency of a paste. Apply the scratch coat to the metal lath until the surface is covered evenly. Ensure the cement is about ½ inch thick and fits into the holes.
Scrape off any excess and use a rake to draw long horizontal lines on the scratch coat when it is still somewhat wet. Leave the scratch coat to dry and set for 24 to 36 hours. - Install the veneer stone
• Arrange the stones first on the ground mirroring the pattern you desire for the finished look.
• Trim and cut the stones, if necessary, using your angle grinder or mason hammer. You can also shape and smooth the edges.
• Clean the stones of any dirt, dust, or oil using a brush. If needed, wash and leave them to dry before use.
• Mix the mortar and ensure it is the same consistency as the scratch coat. This mixture will serve as the bond coat.
• Dampen the back of the stone using a masonry brush to prevent the stone from pulling water from the mortar.
• Butter the back of the stones using your masonry trowel and spread evenly. Ensure the layer of the mortar is about ½ inch thick.
• Hang veneer stones in a bottom-up direction, starting with the corners. Press the stones firmly on the scratch coat, causing some mortar to squeeze out. You can also tilt or rotate each stone slightly to remove any excess air.
• Ensure that the space between the joints is consistent.
• Use grout to fill-in in the joint spaces between the stones. Ensure the joints are filled with grout about ½ inch thick. As the grout stiffens, use a joint tool to chip away the excess mortar. Also, use a broom to smooth and clean away loose mortar from the surface of the stone.
Where to buy stone veneer
If you are looking to buy stone veneer for your next home improvement project, we have what you need at Pacific Art Stone.
Call us today or visit our sales and design centre. Let us help you plan your next project.
Tagged with